Photographers often say, “The best camera is the one you have with you.”
Well, I think the same applies to podcasting equipment. So in this post, I’m going to show you exactly how you can record, edit, and publish a podcast using just your iPhone and prove that your smartphone really can be your studio.
Whether you’re a beginner podcaster on a budget, or someone already making money podcasting, this guide will help you start podcasting with minimal gear and maximum flexibility.
🍿Prefer to watch? Check out the video below!
Let’s start with the big question: why podcast from a smartphone specifically, the iPhone?
While I use an iPhone and will focus on iPhone-compatible apps and accessories, almost everything I mention here applies to any smartphone with a USB-C port.
Here’s why your smartphone is great for podcasting:
- Accessibility – Nearly everyone has one.
- Convenience – Record anytime, anywhere.
- Surprisingly good audio – Modern phones have solid mics, and there are excellent external mic options available.
- Low barrier to entry – No complicated setup required. You can be up and running fast.
- Portability – Perfect for travel, spontaneous interviews, or capturing thoughts on the go.
I often record my show Joe’s Audio while walking my dog, driving, or sitting in the backyard. With my phone, I don’t have to run to my home studio to capture ideas.
Basic Podcast Setup: iPhone + Voice Memos
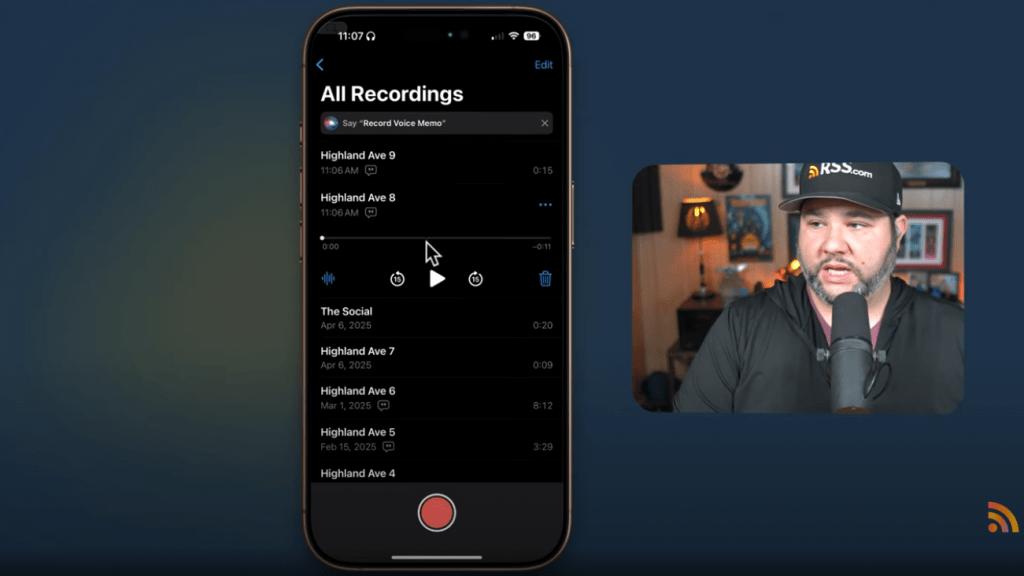
The simplest setup? Just your iPhone. Open the built-in Voice Memos app and hit record. That’s it.
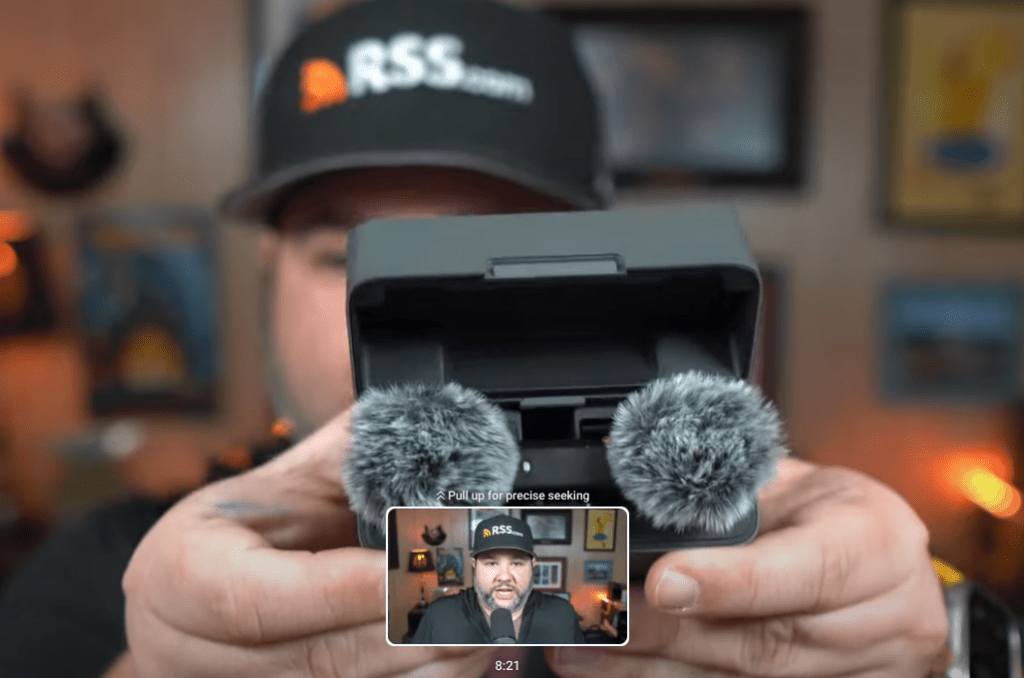
The internal mic is okay in a pinch, but if you’re going to invest in one piece of gear, make it the DJI Mic. It plugs directly into your phone (comes with Lightning and USB-C adapters), and you can start recording immediately.
The DJI Mic also comes in a two-pack for two-person recordings – just keep in mind you won’t get separate tracks. But for on-the-go conversations, it’s a great option.
Upgrading Your Setup (Optional)
If you want to take things further, consider:
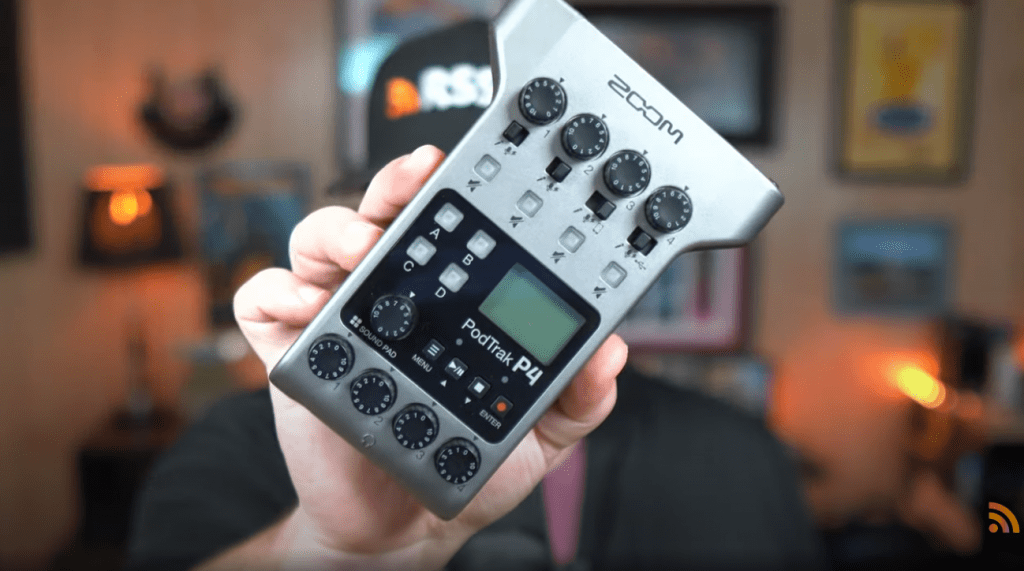
- Zoom PodTrak P4 – A compact interface that supports XLR mics and connects to your phone. It can record to both your iPhone and an SD card.
- Anker USB-C External Storage – Attaches to your phone via MagSafe for quick and easy file backups.
- Third-party apps – More on this next.
Recording and Editing Apps
Let’s talk software. Here are a couple of powerful options for iPhone podcasters:
1. Voice Memos (built-in)
Great for quick recordings. Easy, reliable, and now offers automatic transcription in newer iOS versions.
2. Ferrite
Ferrite Recording Studio is a premium app with professional-level editing features. Ideal if you want to:
- Edit audio on your phone
- Mix multiple tracks
- Clean up your recordings without a laptop
Ferrite is especially powerful on iPad, but it works well in a pinch on iPhone too.
3. Whisper Memos
The Whisper Memos Speech to Text app can record and transcribe up to 90 minutes of audio and send you the transcript by email. It’s a great option for creating content on the go, especially when combined with tools like ChatGPT for generating titles and descriptions.
Publishing Your Episode
Once your recording is done, it’s time to upload it to your podcast host – like RSS.com.
Here’s how:
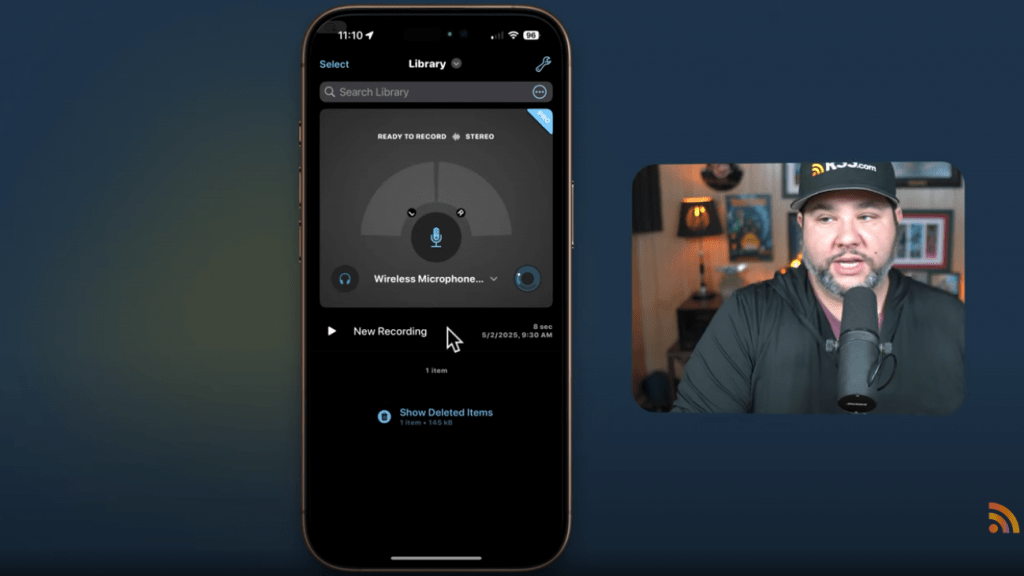
- Save the recording to your iPhone’s Files app (from Voice Memos or Ferrite).
- Log into your RSS.com account on your phone.
- Go to your podcast and select “New Episode”.
- Upload the file, add a title, and write your episode notes.

Tip: If you’re in a rush or just need a little help, drop your transcript into ChatGPT to generate a title and episode description. I do this often – it saves time and gives me a solid starting point.
You can also:
- Select episode type (Full, Trailer, Bonus)
- Mark explicit content (if applicable)
- Add cover art from Canva or your photo library
- Tag a location (only if the content is location-specific)
Once everything’s filled in, hit “Publish” and you’re live!
Setup Comparison: Beginner, Pro, and Goldilocks
Let’s quickly review your options:
Beginner Setup
- iPhone + Voice Memos app
- Use built-in mic or hold phone upside down for better audio
- Best for: capturing ideas, solo updates
Pro Setup
- iPhone + Zoom PodTrak P4 + XLR mics
- Use Ferrite for recording/editing
- Best for: studio-quality recording on the go
Goldilocks Setup (Just Right)
- iPhone + DJI Mic + Voice Memos app
- Whisper Memos for transcription
- Best for: reliable, affordable, high-quality mobile podcasting
Bonus Tips for Better Mobile Recording
To get the best results:
- Speak clearly and keep your mic at a consistent distance.
- Put your phone in Airplane Mode to avoid interruptions.
- Choose a quiet location – even if you’re outside, avoid busy streets or loud environments.
- Test mic positioning – DJI Mic clipped to your shirt or hat (on brand!) works great.
- Make sure you have enough storage – offload old files or use external storage if needed.
Final Thoughts
You can run a podcast from your iPhone – no expensive studio needed.
Whether you’re just starting out or want to stay nimble, this workflow will help you record, edit, and publish episodes quickly and professionally.
Aat RSS.com, and we’re here to help podcasters succeed – no matter what gear you have.
Got a smartphone? Then you’ve got a podcast.